Development
[How-To] Install WordPress Locally On Your System Using XAMMP
Bloggers with self-hosted wordpress blogs are well aware of the fact the the plugins and themes can create errors in the blog due to incompatibility issues. A wrongly placed code in the template or installation of any incompatible plugin can seriously damage your blog. This is the reason almost all pro bloggers do all the testing stuff in a separate test blog installed locally in their systems.
You can also create a replica of your original blog and run it in your system offline. There are number of advantages of this:
1. Your site is always safe without any fear of getting down in case of any error.
2. You never have to login or upload the plugins online.
3. You can edit the code files quickly and save a lot of time in being offline.
In the beginning I’ve personally faced this issue when tipsotricks crashed due to some incompatible plugins. And it took me couple of days to figure out what’s wrong. Believe me it was the worst experience for me in my blogging journey. I’ve shared my experience, which you can read here
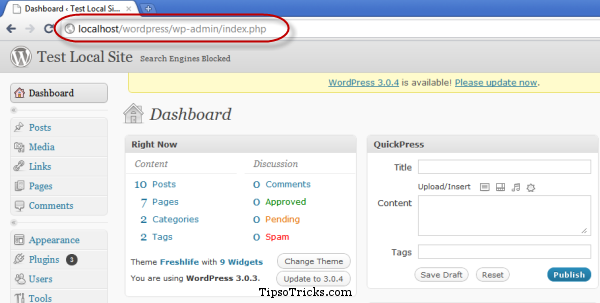
But after installing wordpress locally on your system you can do all the testing and playing stuff, with the plugins, themes, scripts, widgets or anything that you think might cause an error.
To install and run wordpress blog, locally on your system is easy but you need to follow some number of steps carefully to install it. Luckily I found this video tutorial on Youtube which saved me alot time from writing the tutorial. The video explains all the steps in detail.
For quick references, I’m including the links of all those files that are required and told in this video.
Download WordPress (auto-updated link)
XAMPP – Windows | Linux | MAC OS X
Now watch the video and learn how to install an offline WordPress blog.
If you need any assistance regarding the setup, just leave your queries and comment below.

